Artisan – Roasting with the PID using BT as input – Fuji PXF
- Details
Summary:
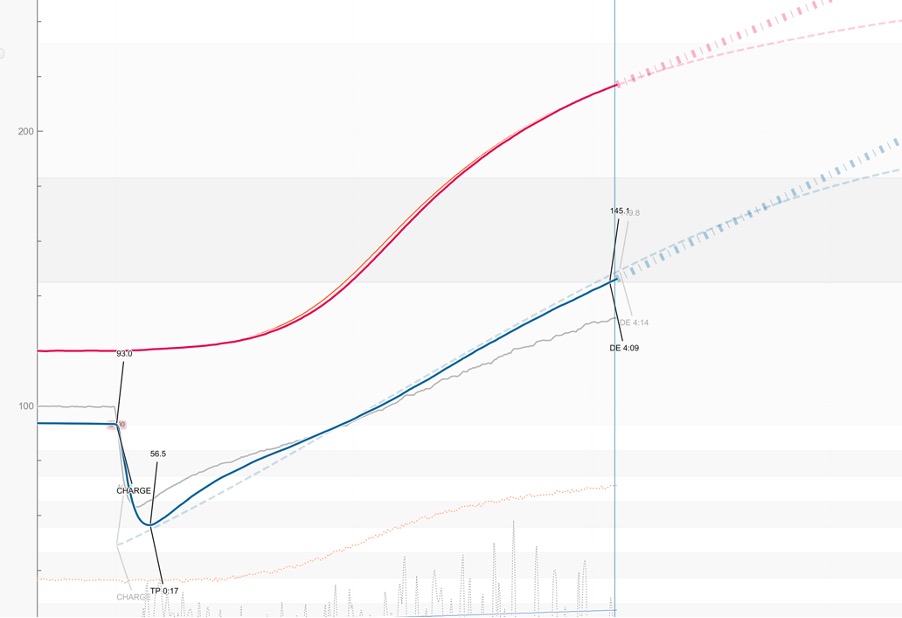
This post is explaining how I modified my roaster to control my roast profile using the BT curve (Bean Temperature) instead of the ET curve (Environment Temperature) using a Fuji PXF PID controller and the state of the art roasting software Artisan-Scope.

Artisan – Roasting with the PID – Fuji PXF (and test of MaxWell MTA)
- Details

Just before I start. This post is not an electronic experts article. It is more my experience from a “roasters for dummies” point of view as I make improvements to my roaster, hopefully it can help other dummies.
I understand (mostly) the topics around temperature control, yet I am neither an electronic engineer nor a computer programmer. I am fortunate enough to have many users and contributors on the Artisan web site and its mailing list who have been helping me to get my new PID working (Special Thanks to Marko and Frans). Hopefully by describing the process from a beginner’s perspective, I can help other beginners achieve the same.
Enjoy
Nico
---
A physical 1st crack button in Artisan-Scope
- Details
Any coffee roaster interesting in logging what they are doing and trying to achieve repeatability will probably understand this.
While roasting and adjusting the various parameters, you are generally tracking when 1st crack will start.
Suddenly, one crack followed by more… and you are jumping on your computer mouse, looking for the 1st crack button to log this crucial stage. To make sure I will not miss it I have an alarm telling me I am getting close just in case my head is somewhere else.
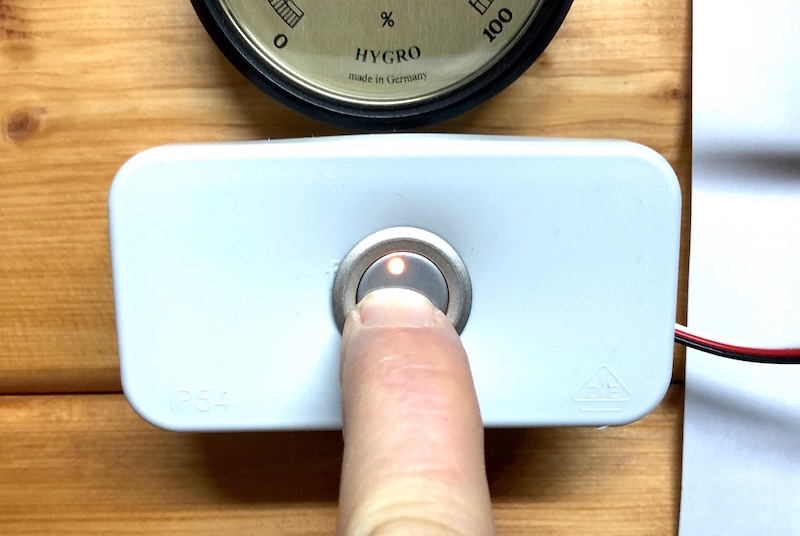
To make things easier, I decided to make myself a hardware “1st crack button” as it’s easier than finding the mouse, look at the screen, find the pointer (it's amazing how at that point it can take a while shaking the mouse to find that pointer...), move it to the 1st crack button and finally click…. pffffff…..
I though others may want to do the same so I’m sharing here this minimal and easy to put in place setup. And you can of course apply this to any other functions than 1st crack.

New video flight case setup (Blackmagic ATEM 2 M/E 4K)
- Details
We have upgraded the C3 Lausanne Video setup. A good part of 2014 was deciding what to use, and how to design it to have a very efficient for our usage.
After many researches and comparisons, we went for a Blackmagic Atem 2M/E 4k Switcher.
The main features of the switcher are:
- 20 SDI Input (one input can should be able to be switched to HDMI, however, we are experiencing image freeze issues on this input, and will change the computer to be able to use only SDI on the switcher)
- 6 AUX output which can be directly changed on the front panel of the switcher (with a dedicated AUX preview)
The Switcher is controlled via a M/E 1 Control panel. The ME/2 would have been too big to be easily transportable and for our usage it works well enough with the quick switch function ME1 to ME2.
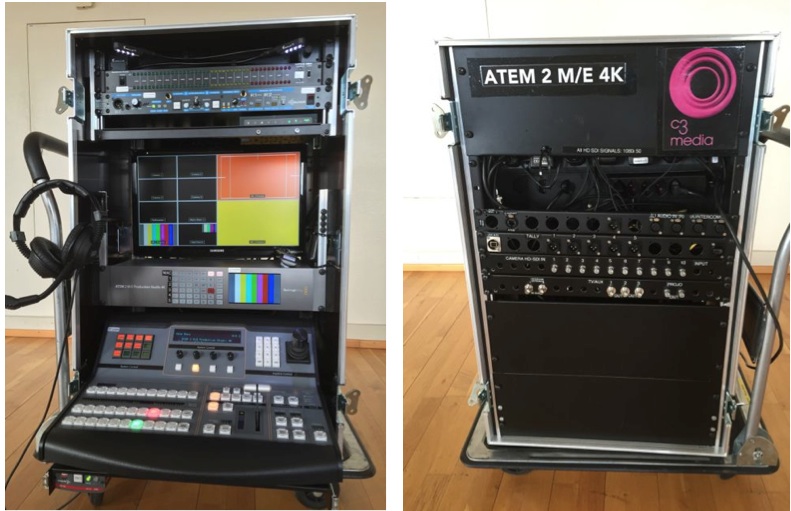
The switcher is mounted in a customized and fully preconnected flight case with all the rest of the media equipment. It allows a very fast setup with minimum possible error.
The setup is (starting from the top):
- LIGHT: Stageville Adjustable LED light
- AUDIO LEVEL: American Audio DBM to keep a permanent view on audio level (which can be adjusted from the laptop using the ATEM software)
- INTERCOM: ALTAIR WBS202 Intercom station
- SSD RECORDER: BlackMagic Hyperdeck Shuttle
- PREVIEW TV: Samsung TV (HDMI). There is a manual HDMI switch on the side if we want to preview the ME/2.
- SWITCHER: Blackmagic Atem 2 M/E 4k
- CONTROL PANEL: Atem M/E1
- INTERCOM Altair E200 Beltpack (mounted under the control panel) with headset.

Flight case views (Front and back)
Page 1 of 10